Showing posts with label DIY. Show all posts

Wednesday, August 8, 2012

How-To

Today, I will be picking up one of my best friends from the train station, and probably having the time of my life for the next week until she leaves.  I'll probably be around just a tad for Friday's Letters or Bookish Sundays, but not much more than that!  See you when I get back from our adventures :)

If you read this blog regularly [or even just read the about me section], then you know I am by no means a crafty person at all.  However, I did complete a couple projects over the weekend and showed final results on Monday, and have since received requests on how-tos for them.  I didn't take step by step pictures of either one, but they were quite simple and should be extremely easy to replicate even without photos.

Book Page Cabinet
BEFORE
I purchased this small cabinet for around $10 on a virtual yard sale to use as a side table in our living room.  It was old, water stained, and had remnants of contact paper on the top glass portion, so I needed to revamp it in order to not only hide its contents, but also just to make it look prettier.  Super easy project that ended up costing less than $20 when finished.

Materials:
Cabinet [or table, or nightstand, etc.]
Used book
Modge Podge, or similar product
Sponge brush
[sandpaper, waterproof coating]

Step One.  Find a used book that you won't mind tearing apart.  Hard back copies are the easiest to remove pages from without tearing them.  I chose Ivanhoe to cover my cabinet in.
Step Two.  Thoroughly clean cabinet and glass.
Step Three, optional.  Sand down all portions of cabinet you will be covering.  This will help the glue base stick better.  Since this was just an experiment for me, I didn't do this step, and it still worked out well.
Step Four.  Coat book page on the side that will be facing down in Modge Podge using a foam brush.  Also coat small area of cabinet in same base, and place book page in desired location.  Top with another coat of Modge Podge.
Step Five.  Continue until all areas are complete!  Allow to dry for a day or two.
Step Six, optional.  Use a water proof coating to seal all surfaces.  Because mine is used as a side table with coasters, and because I don't know how to find this kind of product in Germany, I didn't do this step. 
It's not perfect, and will possibly need to be redone in the future, but I'm happy with my first attempt at redoing a piece of furniture.
AFTER

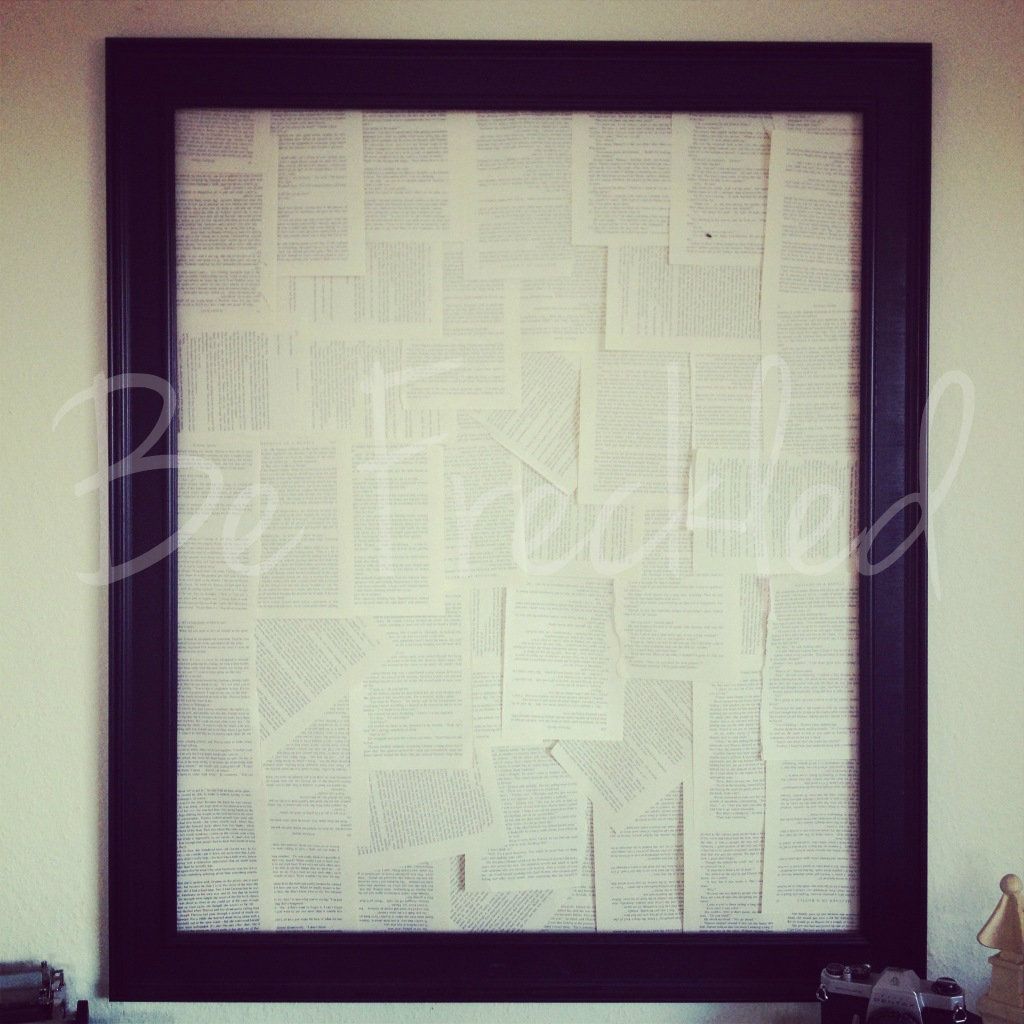
Book Page Frame
Materials:
Empty picture frame [any size] with/without backing
Used book
Tape
I have tons of empty frames around the house, and just reused one that was already hanging.  This project could easily be done with smaller or larger frames as well.

Step One.  Find a used book you don't mind tearing apart.  Again, hard back copies are the easiest to remove pages from without the paper ripping.  For this, I used a random Nicholas Sparks novel.
Step Two.  With the back of the frame facing you, begin by taping book pages to the top of the frame.  Continue taping pages to each other and to the frame until all spaces are covered and no holes show.
Step Three.  Hang the frame!  Because mine did not have a backing on it, and was simply hung by using the frame itself, I simply broke a hole through the pages at the top with the nail head.  The tear is minuscule and can't be seen unless you know it's there. 
Alternative: Using the backing that came with the frame, or cardboard/poster board/foam board, glue or tape book pages until it is covered, then reattach to the frame.  This will allow the pages to seem more seamless and flat.
I didn't tape down every single corner of the pages so that it added texture to the whole look.  Because mine are simply taped together and not taped down flat to a surface, it does look "bubbly" or 3D.

Hope these help for those of you that were interested!  Sorry there aren't better instructions or pictures to accompany it, I honestly didn't think so many people would be intrigued by how to do them!

Wednesday, March 21, 2012

DIY Hair Bow Holder

I was recently a part of a baby shower for a friend who is having a little girl, and was completely at a loss for what to do for a gift; German baby clothes are not quite what most Americans want [since the words are in German], plus shopping on the economy is expensive.  So I saw a DIY hair bow holder on Pinterest and wanted to make one of my own.

Taking an old frame I picked up at a Goodwill a couple years ago, I shopped for the paint I wanted [grey and pink], ribbon to match, and some household items on hand, I created a home made hair bow holder that I am in love with.


No stencils, so I used scrapbooking supplies for the border

Tracing over typed print helps keep your script neat and legible. 

I used thumb tacks instead of staples or glue gun
Painted hooks to match to allow hanging headbands

Overall result!
 I definitely love the look, and think I'll start making these more often to sell or just to give away.  A very relaxing project that took less than a day!  If you'd like more detailed directions on how to do this yourself, feel free to email me!

Tuesday, January 17, 2012

Catching Up

I'm so far behind in my requirements for life, it's ridiculous.  The house needs to be cleaned, laundry done, yard picked up, trash taken out, groceries shopped, pounds shed, hairs cut and much much more.  What could possibly be keeping me from accomplishing, well, everything?


School.  One word sums up the extent of all that is occupying my time.  So the photo isn't necessarily of school books, but who takes pictures of text books?  I don't need to be reminded that going back to school may be a wise decision, but doesn't mean I necessarily enjoy it.  The photo contains my Nook [on which I do have text books 'cause electronic version was cheaper], my iPod to help drown out distracting surround sounds, and coffee because school exhausts me and gives me headaches.  Now, I could probably show pictures of my house to represent the full scale of disarray, but no one wants to see that.  I don't even want to see that.

On a positive note [if one can be found amidst the complete and utter dislike of education], this whole college deal definitely makes me feel smarter, and I love the fact that I am exercising my writing abilities.  I guess it could be worse.  I could be taking a math class [yuck] and failing miserably.

On my to do list this week is catching up on book reviews and actually getting out and doing something wonderful, like visiting Worms for a architectural photography session.  Plus, be prepared for some how-to tutorials on making some pretty cool items, and see my house come together as I start decorating.  I'm excited.  So you should be, too.

Wednesday, December 21, 2011

I'm a...

...guest on hello dearie!  

Remember these cute little hand warmers I talked about earlier?  Click the link above for the tutorial :)

Friday, December 16, 2011

Rain, Rain

When we were preparing for the move to Germany, I was also preparing for the glorious amounts of snow that would greet us for the winter.  When we arrived in Germany, we were told that winter was a little late, but it would definitely be here soon.  As we approach Christmas, I can't help but wonder:

Where is the snow?

I'm a tad bit sick of all this rain we've been having, and am looking forward to either winter actually arriving, or the beginning of spring.  Either would work for me at the moment.  The dreary weather was made worse when Timmy finally reported back to work this past Tuesday.  He's on swing shift [or mid shift] which is from 1400 to 2200, but since they have to work twelve hour shifts, he goes in at 1000.  That leaves me with quite a portion of the day to fill on my own, in a country I'm still unfamiliar with, with no choice but to either return to a very uncomfortable hotel room or brave the rain and winds outdoors. 

I'm not feeling too much holiday cheer at the moment.

The fantastic news is that we will be able to move into our new home on the 21st, which is just in time for me to spend Christmas day by myself since Timmy has to work.  At least we will be in our own space [albeit, sans any furniture or electronics] with our pups and looking forward to having my dear sister, Veronica, visit for New Year's.  

While waiting for snow, our home, Veronica, and the holidays, I'm trying to lift my spirits with hot cocoa and home made Oreo balls, courtesy of our friend Tara.  Both are delicious and help brighten our very blah room.


I'm also finishing up a project that will be featured on hello dearie sometime soon.  A very easy winter DIY, perfect for cold weather or even last minute stocking stuffers.  Check back soon, I will let everyone know when it is posted!!!  And please send me some snow.

Tuesday, September 6, 2011

Weekend In Pictures

I really didn't have a very eventful weekend, but here is a small glimpse into what occupied my time.

Finally made a tiered serving tray, something I've been wanting to do for quite a while

Purchased this quite gorgeous vintage ring at a thrift store.  Love love love!

Disclaimer: I am not a photographer, I have never claimed to be a photographer, and I doubt I ever will.  I do enjoy snapping pictures though, and when some of our dearest friends asked for me to take family shots, I jumped at the offer.  Here are their gorgeous kids and the amazing couple :)


A very productive and fun filled weekend.

Friday, July 22, 2011

Reception

Tim and I finally got to host our reception/family reunion on the second of July, and it felt amazing to be able to stop worrying!!!  Months and months of preparation and hard work (with much much thanks to all of my dear friends and family) went into this day, and I have to say, it was one of the happiest days of my life.  I wish I could have done something as elaborate and grandiose as I wanted, but being surrounded by almost every single person I hold dearest more than made up for the simplicity.  


Solution to keeping tablecloths from flying away?  Weave ribbon through the cloth and tighten underneath.

Thrift stores were my favorite place to shop when trying to find decorations I couldn't make.

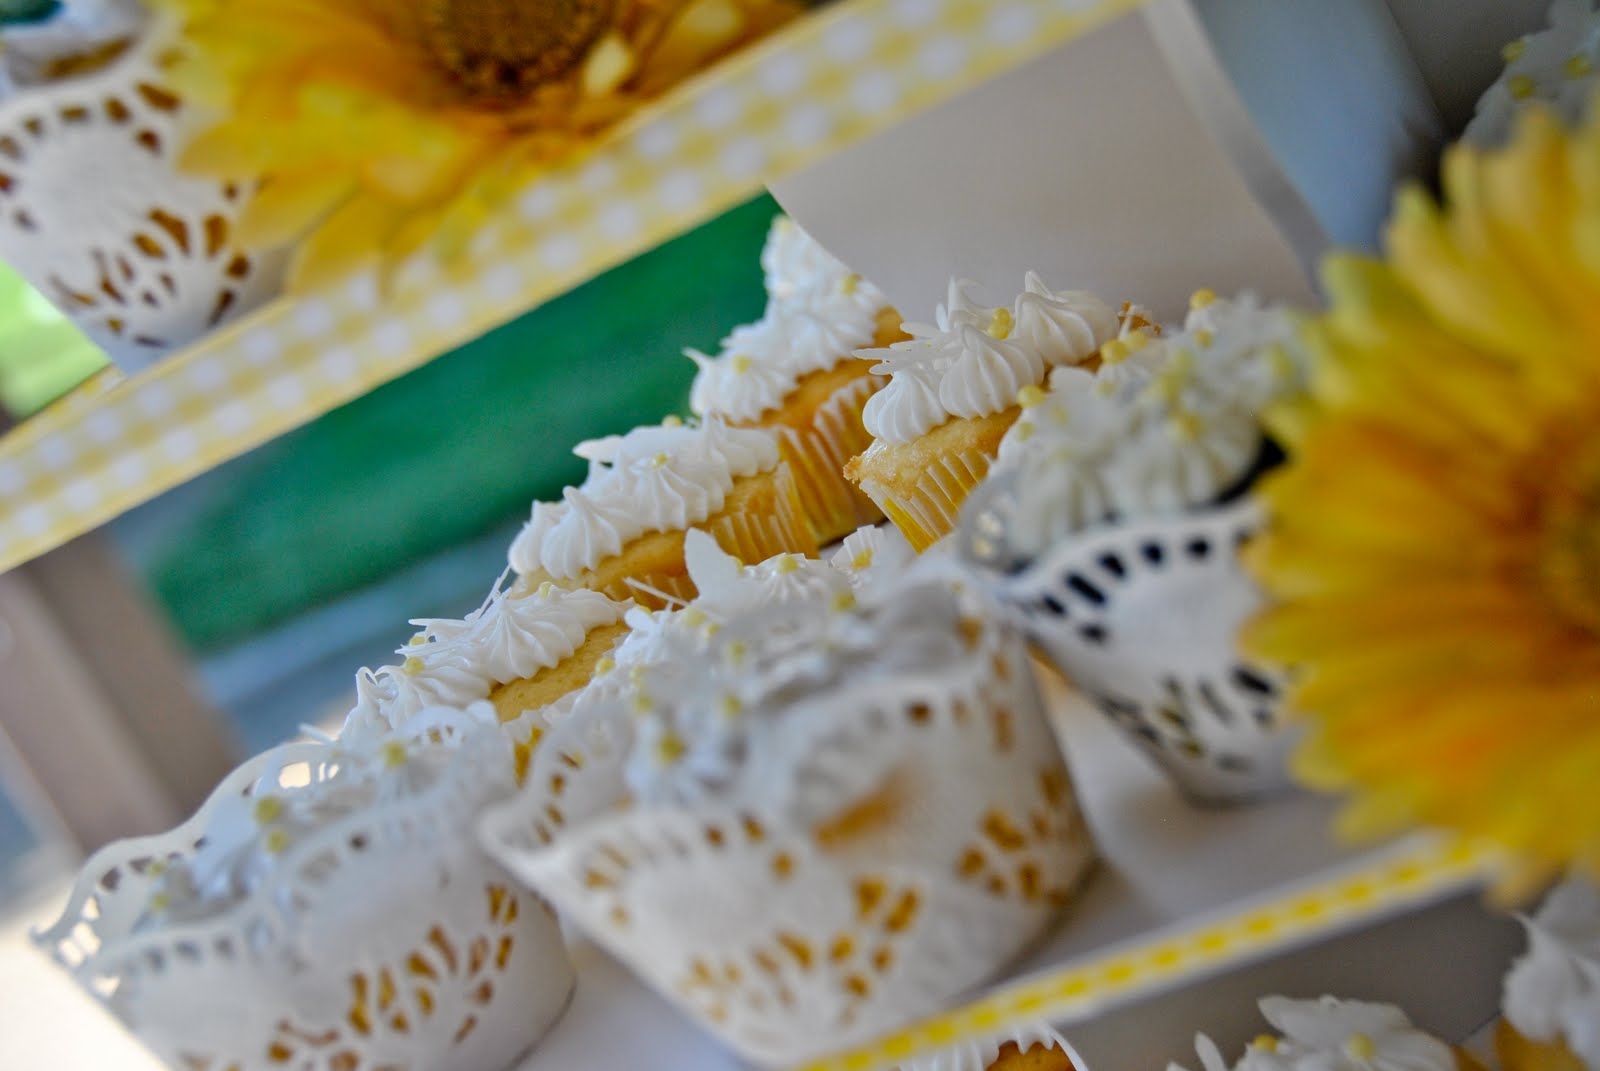
Cupcake tower with DIY cupcake wrappers made out of doilies.


Place setting in a jar...guests just needed to load up a plate with food, then grab a jar with all of their silverware/napkins/etc.


We set up a photobooth with a great backdrop and silly masks on sticks for some entertainment.


Our guestbook was a mad-lib that we had each of our guests fill out.

It was so warm outside!!!!  We gave fans to everyone in hopes of keeping a little cooler...


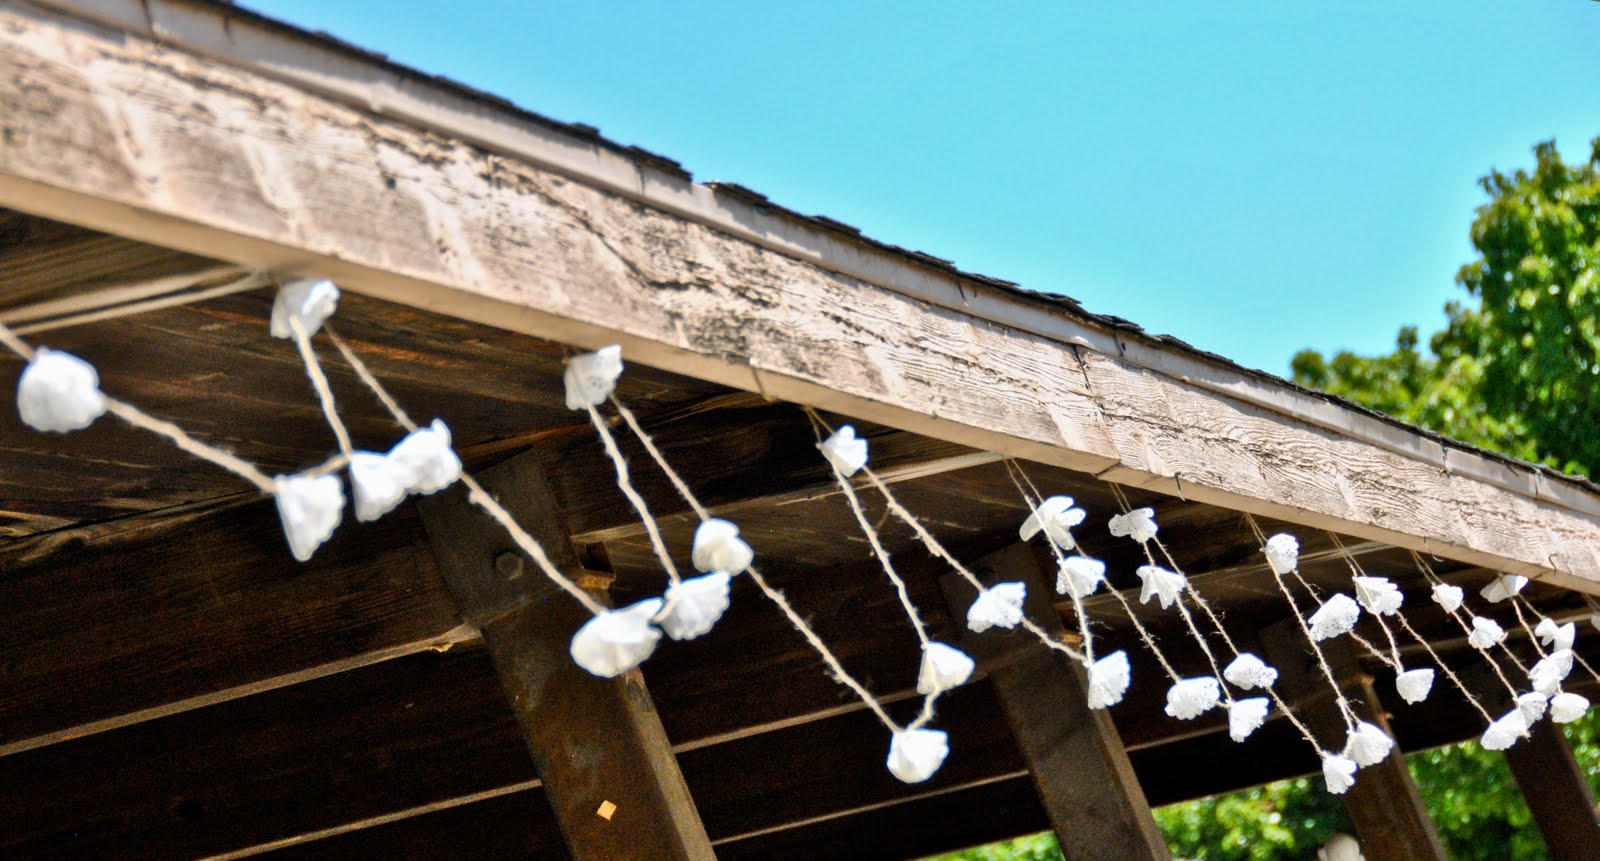
Hand-made doily garland to decorate the rafters.


Hand-made pom poms to add a spruce of color.


Small and simple, but such a success!!!

My family and friends also pitched in on making and bringing food and drinks.  There was such a spread, we had enough leftover for the next week!  The theme was country, so my dad fried up some chicken, my mother-in-law made lumpia (not quite "country" but so so delicious), we grilled, plus there were tons of cold salads and pastas.  We threw some fruit into pails on the tables in easy reach, and made tons of cupcakes and cookies for desert.  Everything tasted so so delicious, and there was more than enough for everyone.

Tim's mom made 300 lumpia!  I stole some and froze them so we could eat them after the party :)

My dear Aunt Rhonda chopped up the watermelon, then used the shell as a bowl.  So clever!

Sweet tea, lemonade, and ice tea (plus tons of water and soda) quenched our thirst.

Grapes, apples, plums, oranges, and much more covered the tables to chow down on.

Yummy cupcakes!  My best friend, Alyssa, did the icing, and my sisters- and mother-in-law spread the sprinkles.
  
We grilled sliders and brats for some hot food.

The entire spread.  Delicious!!!

More important than the food and decor was the fact that pretty much my entire family (minus my sister, my maternal grandfather, and my great uncles) and the majority of my friends were able to make it.  South Carolina, Kentucky, Minnesota, Wisconsin, Nevada, Washington, and Southern California were all present.  It was amazing!  My parents and in-laws were finally able to meet, I got to see my best friend in the entire world, and everyone got along fantastic.

I got to see family that I hadn't seen in FOREVER!!!


My cousins (the Wilsons), my brothers, aunt and uncle, and Grandmother


Most of our friends in the local area were able to make it.


My dad and his sister.


My Aunt Deanna and great-Uncle Frank.  They're so cute!!!


Everyone lined up to greet us when we arrived.


My parents and my in-laws.  Fantastic having them in the same place.

Notice the faces in the background :)


All the family that showed up to celebrate with us!


Photobooth shot of Uncle Frank and Aunt Rhonda


Cribbage is a very VERY important past time on my side.


We were so lucky we had so many of our friends and family there to support us!

My mom and I :)


I heart my parents.


Sisters-, mother-in-law, and myself


The hubby's side.


My best friend, Alyssa, and I.  Pretty much the best representation of us ever.


My high school buddies.  Loved having them here to celebrate this new chapter in my life!


I was NOT a happy camper.  I despise icing with a passion, so Timmy decided to shove it in my face. 


Mom and I again.  We have too much fun together.

All in all, the day was a success and I am so happy.  There is no way that any of it could have happened without my amazing friends helping with the decorations and food, my family helping me set everything up and take everything down, and everyone being willing to drive/fly so far just to be here.  No, I didn't do the whole wedding thing, but I'm not sure that it would have been any better.  I mean, my day was absolutely perfect.
These aren't all the pictures, so I'll be adding more over the next few days.  You should check out my photographer, Tiffany Kaye Photography, if you live in the local area because she is seriously amazing.  Find her on Facebook, or shoot me an email and I can give you her information.